Many of my craft-loving friends often talked about the Cricut Maker, praising its versatility and features. Intrigued, I decided to order one, excited to see its potential in my own crafting projects.
But, after receiving it, I realized I was very new to Cricut and didn’t even know its basics. Like any other new device, it takes time to become familiar with it; the same goes for a Cricut Maker. I read the user manual for a better understanding, which reminded me to take it step by step. As I flipped through the pages, it felt like I was reading a new language. There were terms like “Cricut Design Space” and “Fine-Point Blade.” It became overwhelming to understand how to use a Cricut Maker.
So, I decided to go slow at first. After some exploring and learning, I became familiar with the machine. Now, using the Cricut Maker is a cakewalk for me; I am able to craft confidently. If you have also purchased a Cricut Maker and find yourself confused about how to use it, then let me share with you what you need to do.
Considerations Before Getting Started With Cricut Maker
If you have finally brought the machine, you may want to start with the setup process. But, before that, you must consider what matters the most:
- First, you need to see whether you have an appropriate location to place the machine.
- Position the cutting machine near a power outlet to ensure a consistent power supply.
- The machine should be within the range of your computer or mobile device when using it wirelessly.
- Download the Cricut Design Space Software only from the official Cricut website (design.cricut.com).
Steps to Use a Cricut Maker for the First Time
If you are new to crafting and want to start with the crafting machine, it can be a little complex at first.
From setting up the cutting machine to getting started with your first project, I have explained each instruction below. Check out this complete “how to use a Cricut Maker” process:
How to Setup the Cricut Machine
Step 1: Insert the power cord into the back of the machine and the other end into the outlet.
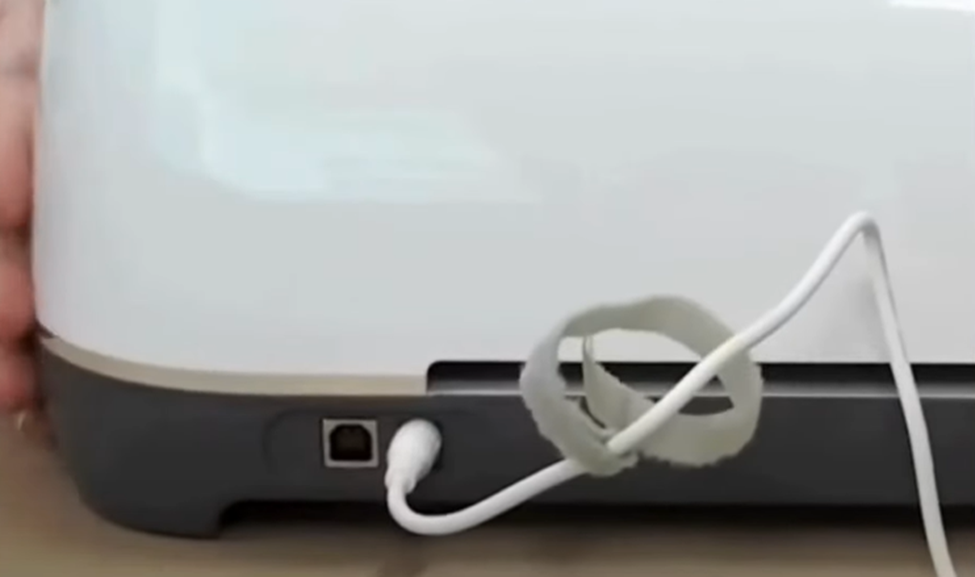
Step 2: Insert the USB cord into your crafting machine and the other end into the computer.
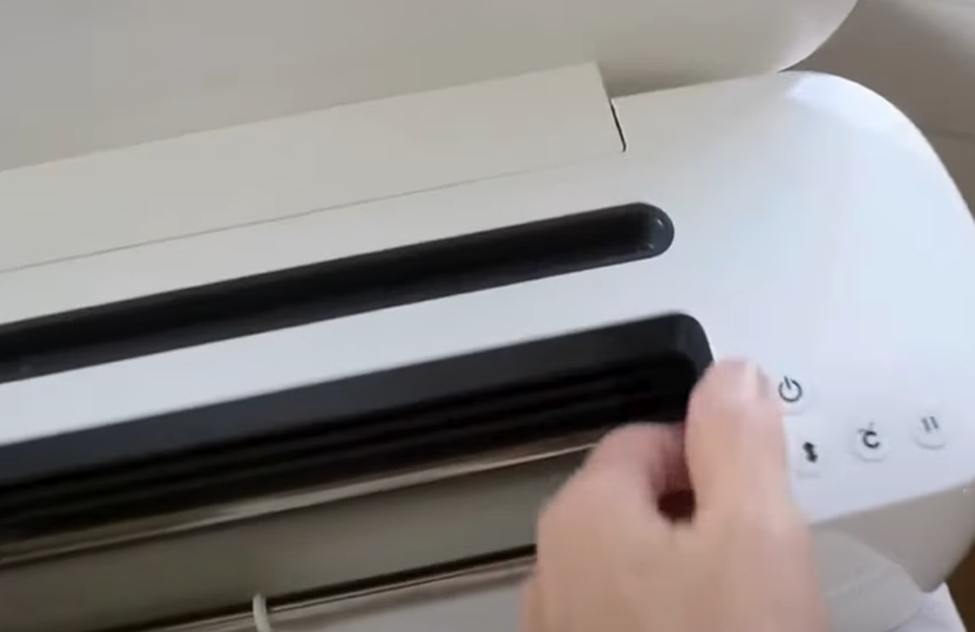
Step 3: Open up the machine and press the power button to turn it on.
How to Download and Install Cricut Design Space
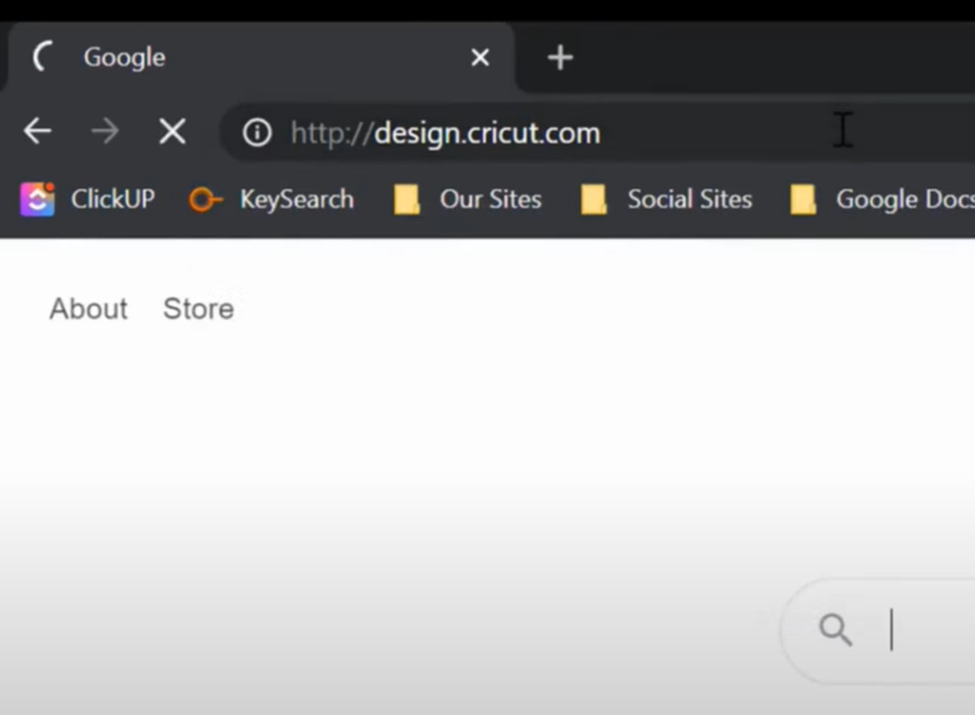
Step 1: Open a browser on your system and go to the official Cricut website design.cricut.com.
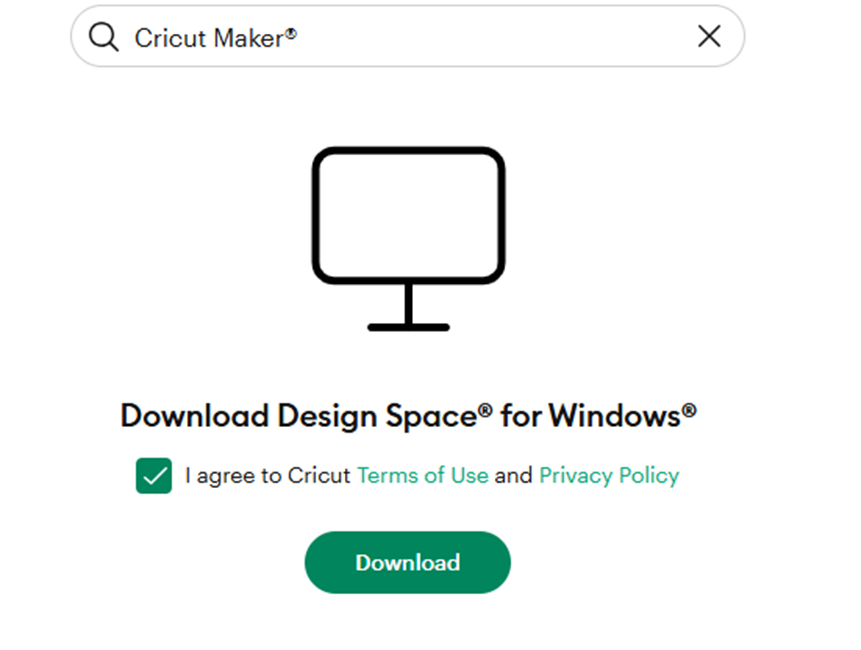
Step 2: In the search bar, select the model of your machine.
Step 3: Check the box next to “I agree to Cricut Terms and Conditions.”
Step 4: Click on Download and then wait for the procedure to complete.
Step 5: Click twice on the downloaded software file, and it’ll start installing.
Step 6: In the Cricut Design Space window, click on Product Setup.
Step 7: Then select your product type to continue.
Step 8: Next, select the Smart Cutting Machine.
Step 9: Go ahead and Create a Cricut ID if you don’t have one.
Step 10: Check the box next to the “I agree to Cricut Terms and Conditions” and click Create a Cricut ID.
Step 11: If you get an Updated Policy prompt, click Accept to proceed.
Step 12: Set up the machine following the on-screen instructions.
Step 13: Once you are done with the setup, perform a test cut.
Tools and Supplies for Your Project
Here are some essential tools that you will need for your first crafting project:
- Cutting mat (LightGrip, StandardGrip, and StrongGrip)
- Weeder
- Scraper
- Spatula
- Tweezers
- Cricut pens
- Materials to cut (cardstock, vinyl, iron-on sheets, etc.)
Create and Cut Project
Step 1: In Cricut Design Space, click on New Project, located either on the top right side of the screen or under My Projects.
Step 2: To create a design to use, you can go to Images and choose one.
Step 3: Go to Templates and select a design that matches your project to get a better picture.
Step 4: Click on the Text icon and type out any text to use for your project.
Step 5: Go to Projects and choose a ready-to-make project to use.
Step 6: You can also upload a design to use for your project.
Step 7: Once you have the design ready, click Make It.
Step 8: Check how the design looks on the mat and click Continue.
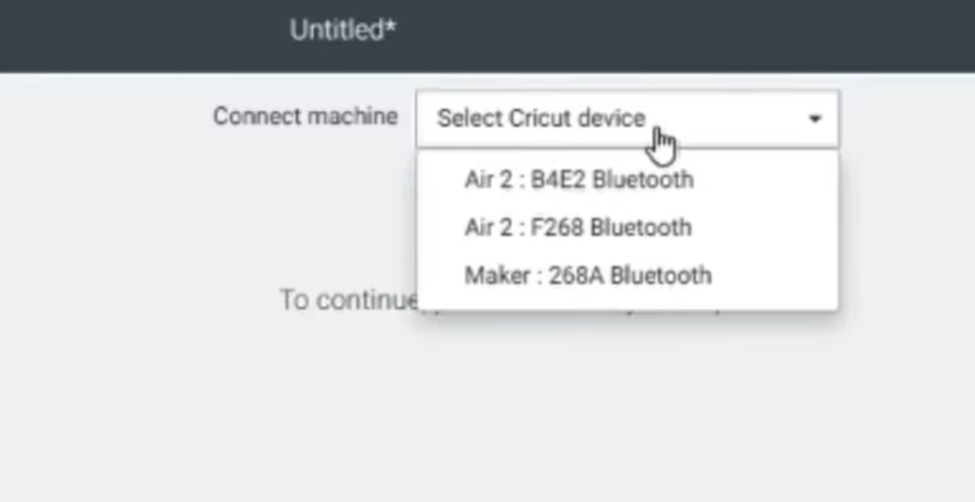
Step 9: Select your device from the Connect Machine drop-down menu.
Step 10: The next step is to place the material on the mat and cut off the excess material if required.
Step 11: Load in the mat by pressing the up-down button and pressing the flashing C button to start cutting.
Step 12: Once it’s done cutting, unload the mat by pressing the up-down arrow button.
Step 13: Flip the mat over and peel off the material, then weed out the design using a weeding tool.
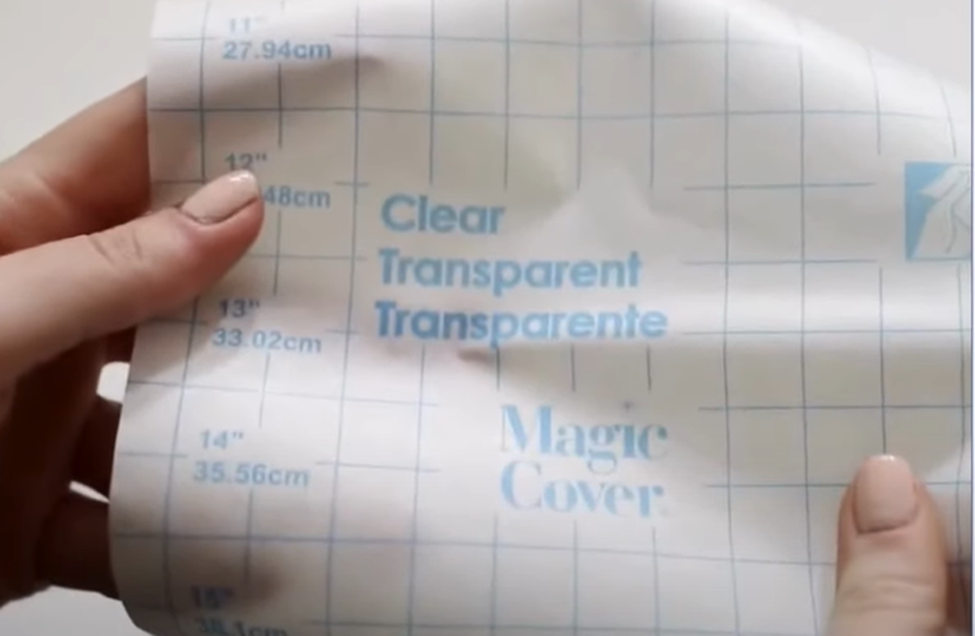
Step 14: Take a piece of transfer tape, peel off the backing, and then place it over the design.
Step 15: Scrap it down using a scraper tool to ensure the design adheres well.
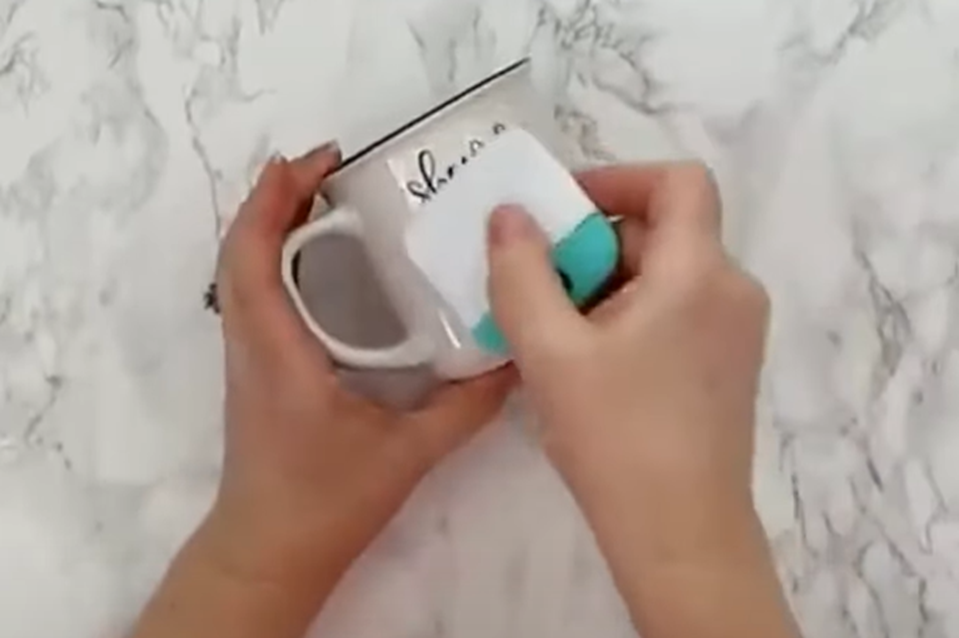
Step 16: Grab the decal, peel off the backing sheet, and then carefully place the design onto the mug.
Step 17: Smooth it down using a scraper tool to ensure the project design sticks to the surface.
Step 18: Peel off the transfer tape, and the project will be ready.

Frequently Asked Questions (FAQs)
Is It Possible to Use Cricut Maker Offline?
You can use the Cricut Maker offline with pre-downloaded projects in Design Space, but features like content sync and new image uploads require an internet connection.
How Should I Clean Cricut Machine?
It is necessary to clean your crafting machine on a regular basis. This assures smoother and more appropriate functioning. Wipe the exteriors of the machine and clean up the dirt or fingerprints. Clear the leftover bits and scraps with a scraper tool. Open the machine’s lid and remove the inner dirt with a soft brush.
Why Is My Cricut Slice tool Not Working?
Learn How to Solve the Cricut Slice tool can be confusing; here are a few things to check:
- Ensure you only have two layers selected. If you have more than two, the tool will be grayed out.
- Ensure the layers you intend to slice are visible, not hidden in the Layers panel.
- Ensure there are no hidden or embedded objects within the layers you are trying to slice.
Note: If you’re trying to slice complex shapes, you may need to weld some layers together first to make them a single layer.
How to log in to a Cricut ID?
Learn How to ‘log in’ to your Cricut ID, follow these steps:
- You can access Cricut Design Space through the official website or the mobile app.
- On the Cricut website, look for ‘Sign In’ or Account at the top right. In the app, find the option within the ‘Settings menu’.
- Input your Cricut credentials, like Email ID and Password, in the designated fields.
- Finally, click the ‘Sign in’ button to access your account.
How to Activate Cricut Maker 3?
Learn How to activate your Cricut machine, you need to follow these steps:
- First, plug your Cricut Machine into the power outlet using the power cord.
- After that, connect your machine to the computer using the USB cable or connect it via Bluetooth.
- Then, download the right Cricut software, Cricut Design Space, by visiting cricut.com/setup.
- Once you’re done with the download process, create a new ‘Cricut ID’ or ‘sign in’ with an existing one.
- Return to Cricut Design Space and find the Cricut Machine Setup option, and click on it.
- Choose your machine model, and that’s it.
How Can I import a Design into Cricut Design Space?
To import a design into Design Space, follow these steps:
- Open Cricut Design Space and start a New Project.
- Then, click the Upload button on the left-hand side of the canvas.
- After clicking on it, your computer’s file browser will open, allowing you to select your Cricut design.
- You can either browse for it or drag and drop the file into the canvas area.
- Cricut Design Space will ask if you want to upload it as a cut image or a pattern fill. Proceed with your desired option. Click Insert Images.